|
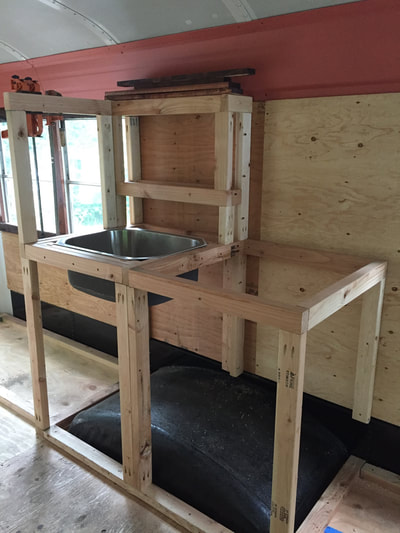
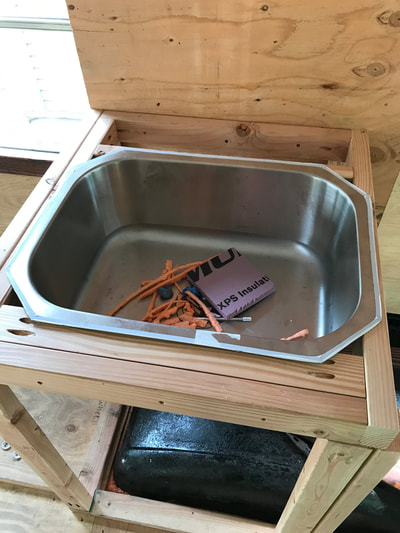
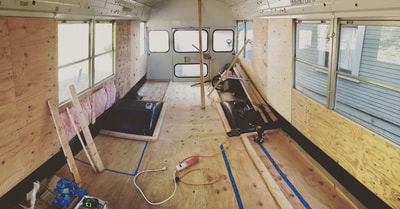
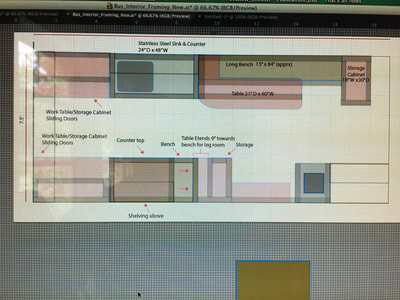
Using 2x3's, we framed out our sink, chair, and counter space over the wheel wells.
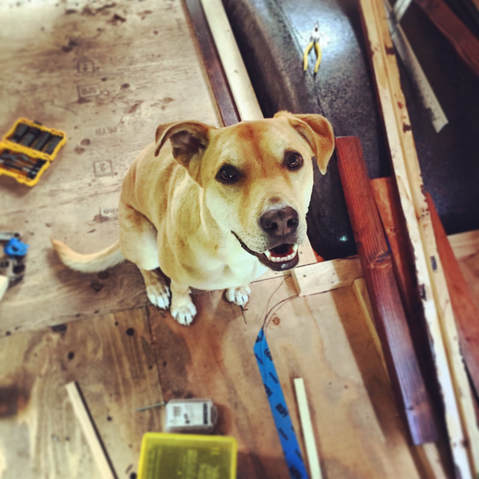
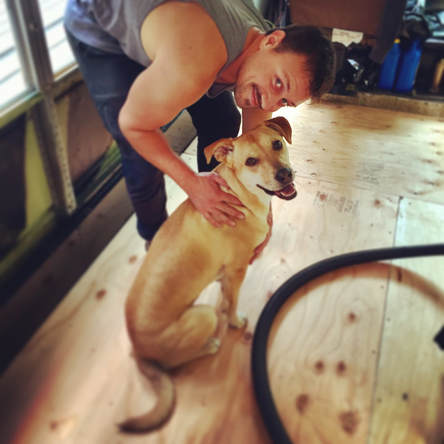
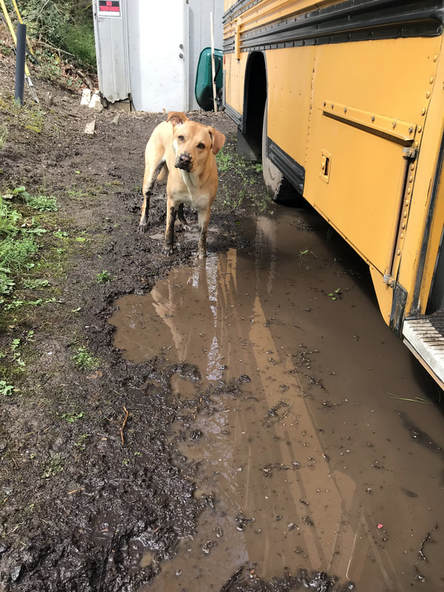
***** Lou is thrilled at our progress and CAN NOT WAIT to be a bus dog.
0 Comments
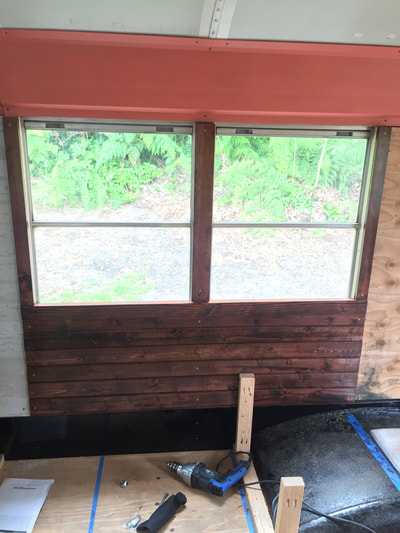
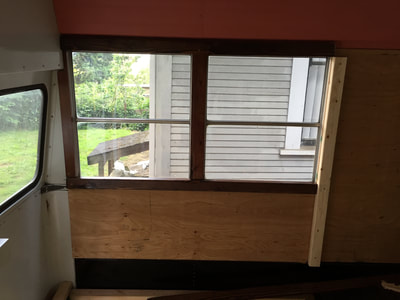
Framing out the windows proved to be a frustrating task due to inconsistent lengths and depths, and the need for specialized shapes. Despite our best efforts to measure twice, cut once, we were still left with a few pieces that needed modification and problem solving. But the reward... well...
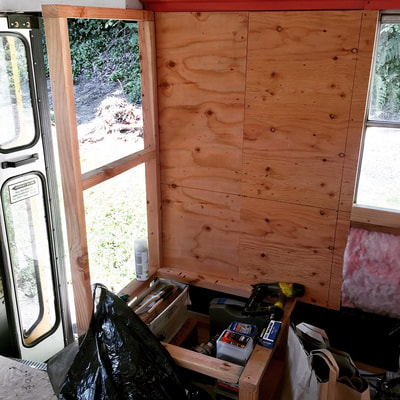
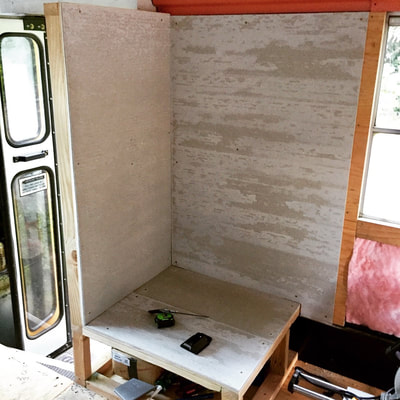
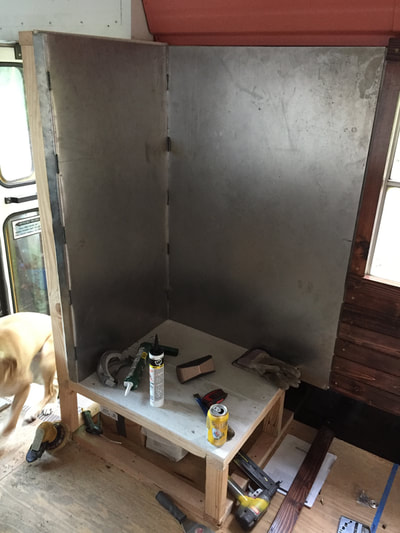
it was all worth it to see the walls come together like they did. The first structure to go up was the front wall on the passenger's side, right next to the stairs. The purpose of this wall is to obstruct any cool air that may come through the door, as well as offer an entryway of sorts to the rest of the bus. On the backside of the wall is a small platform. This platform, along with adjacent walls, is covered in heat resistant cement board, and a steel shield. We are hoping to rest a small kiln in this area.
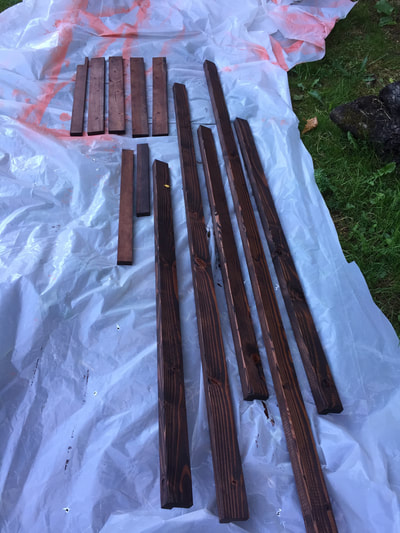
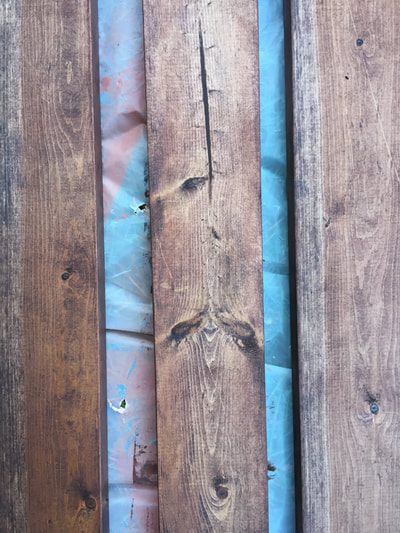
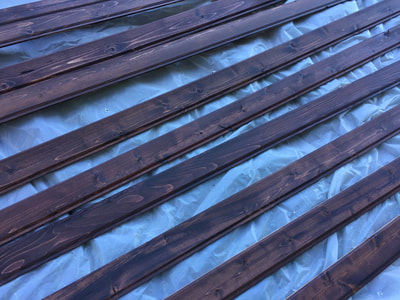
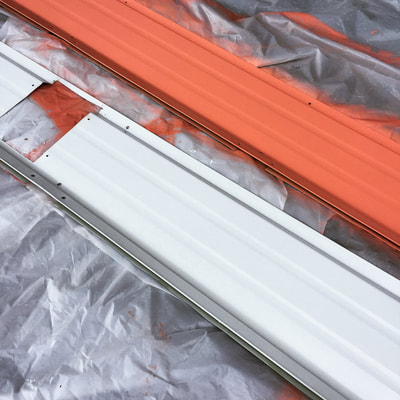
Using 2x3's for studs, we framed out the bases of all our permanent fixtures. Slowly but surely, we were starting to build upward. We also realized very quickly that certain elements that I would have deemed as "finishing touches", (such as painting the metal runners, staining and installing window frames and paneling) also needed to be installed at the same time as the rest of the furniture.
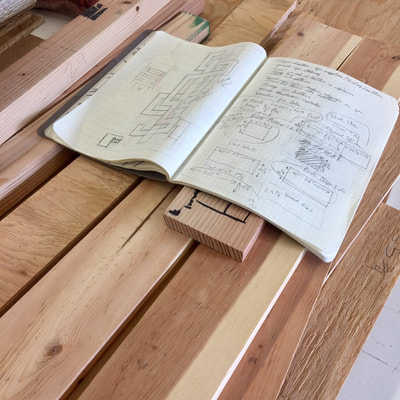
After much debating and a number of sketches, we finally decided (relatively speaking) on a floor plan we were happy with. At this time, we took an evening to cut and install new insulation in the walls, as well as plan out our next step.... studs.
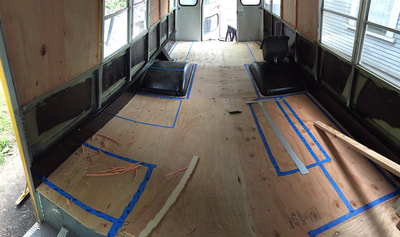
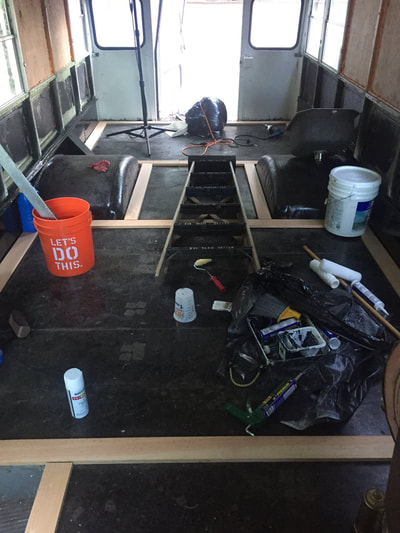
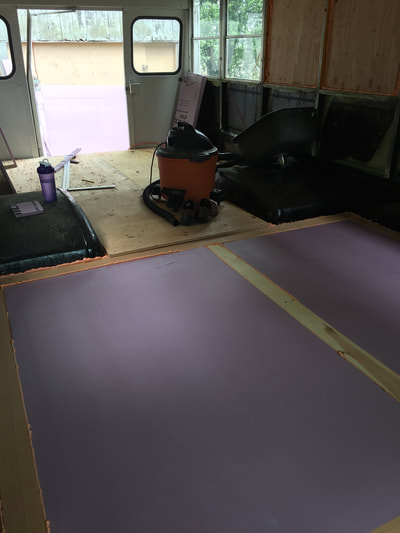
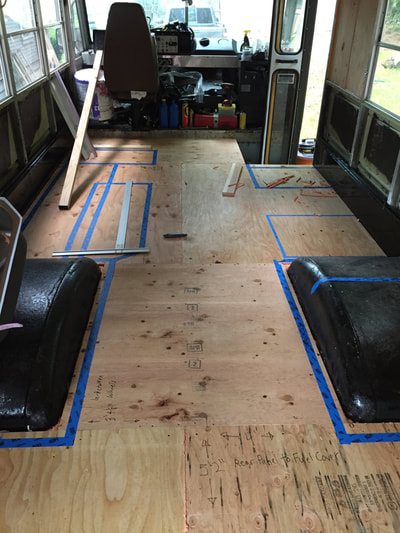
Getting that floor down had to be one of the most rewarding milestones to date on the bus. We used 1x4s to frame out the subfloor, then filled the negative space with sheets of 3/4" foam. After that, we laid down a subfloor of 5/8" plywood and taped out our permanent structures. It might not seem like much, but those little pieces of blue tape really helped to make the space and our vision come to life.
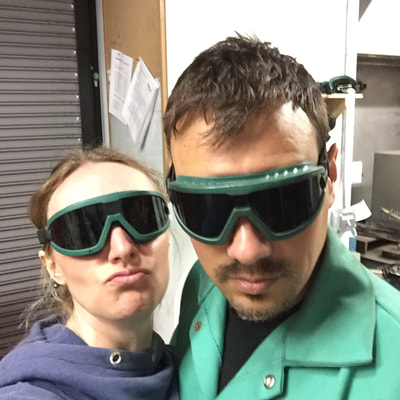
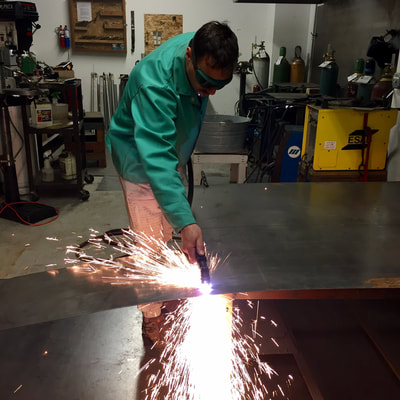
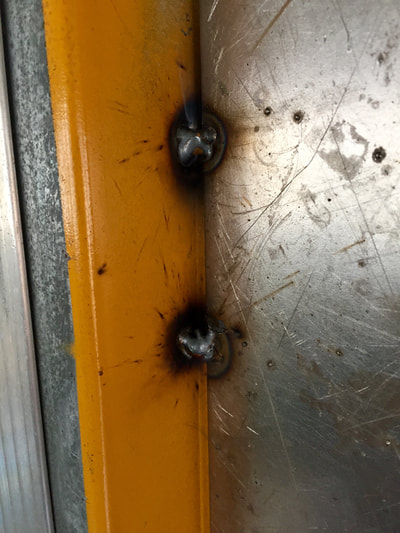
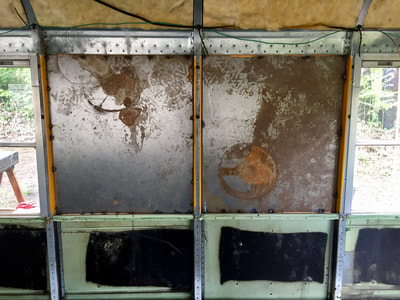
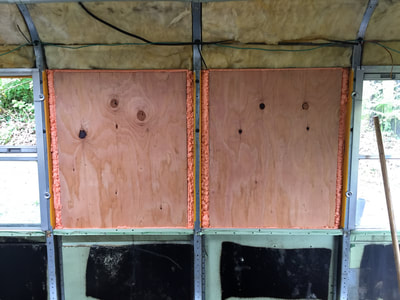
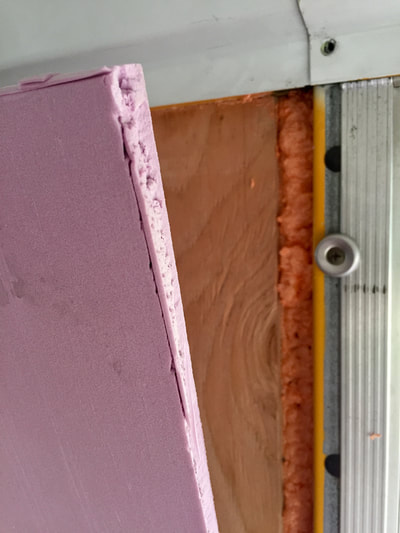
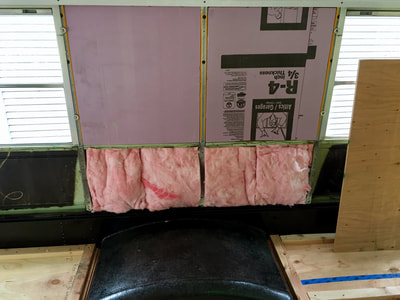
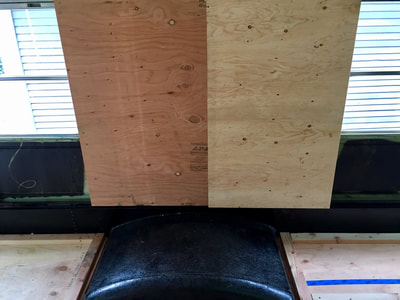
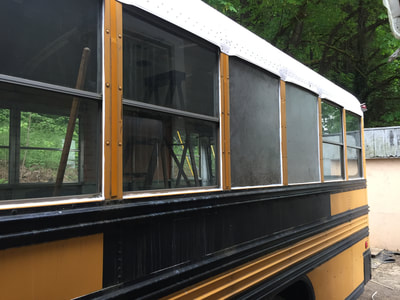
To make our patches, we carefully measured and used a plasma cutter to cut pieces of steel that corresponded with the various window gaps. These were then tacked in place using a MIG welder, and then carefully caulked on both sides. We used a thin plywood backing to reinforce the sheet metal, and sprayfoam to hold it in place, as well as fill any remaining small gaps. This was followed by a 3/4" hard foam insulation, and another sheet of plywood.
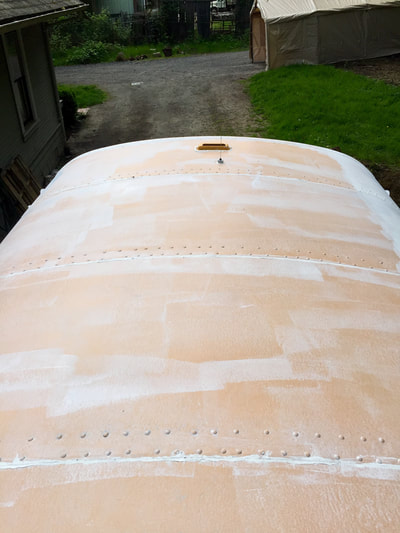
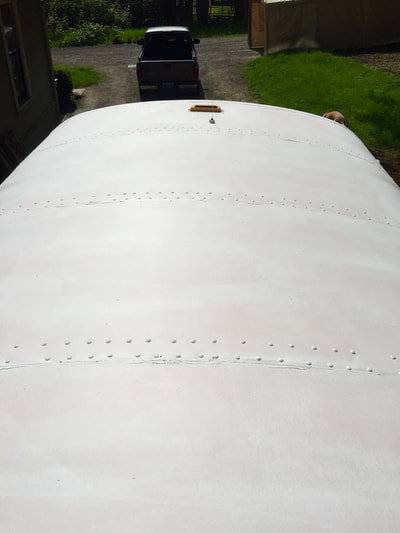
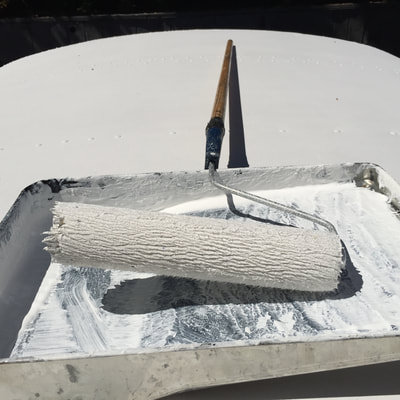
With the rain finally gone, we were able to sped a few days up on the roof, giving Eva a much needed fresh coat of paint. We chose Henry Solar-Flex White roof coating for this project. This bright white paint reflects sunlight and cools the inside of the bus considerably, while also plugging up any small potential holes in the roof around existing rivets and seams.
On the bright side, taking all the windows out gave us the opportunity to replace a few with metal sheeting. This meant extra wall space for storage and an increased number of build-out possibilities.
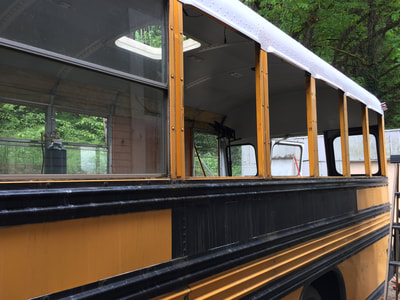
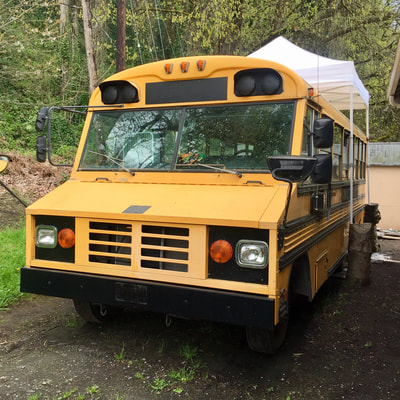
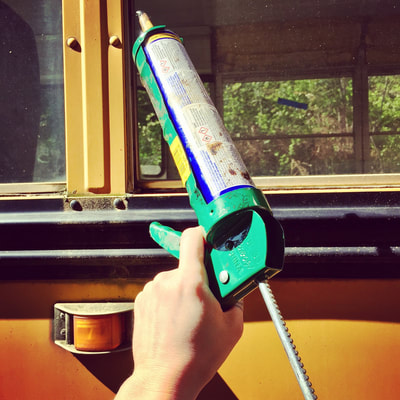
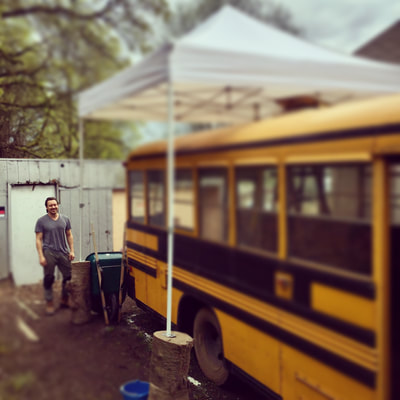
Leave it to good ole Mother Nature to lend a helping hand. After weeks and weeks of rain, we came to the conclusion that most all the leaks could be traced back to the windows and rotted caulk. The remedy? Removing each and every window, scraping and cleaning them and the metal window frame, and then reinstalling and caulking. How did we do it in persistent rain? Well, it's amazing what you can accomplish with a little ingenuity (and a few logs).
***** This was by far the most grueling and time consuming task yet, but Lou Dog didn't seem to mind. |
Archives
January 2020
Categories |
Location |
Follow Us!Donate to our charity with Amazon SMILE! |

 RSS Feed