|
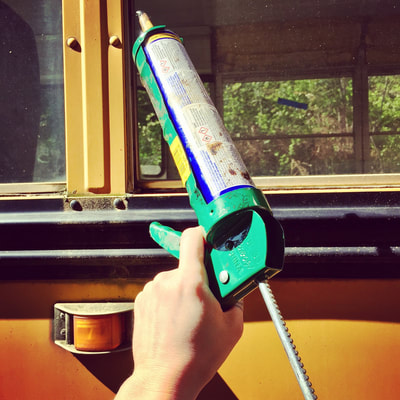
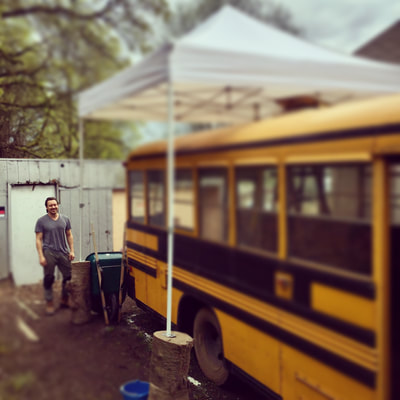
Leave it to good ole Mother Nature to lend a helping hand. After weeks and weeks of rain, we came to the conclusion that most all the leaks could be traced back to the windows and rotted caulk. The remedy? Removing each and every window, scraping and cleaning them and the metal window frame, and then reinstalling and caulking. How did we do it in persistent rain? Well, it's amazing what you can accomplish with a little ingenuity (and a few logs).
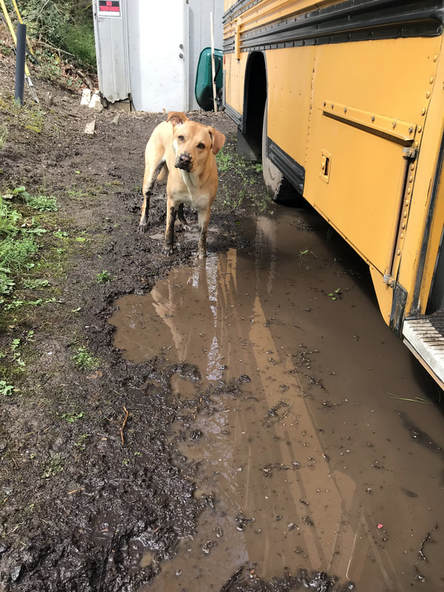
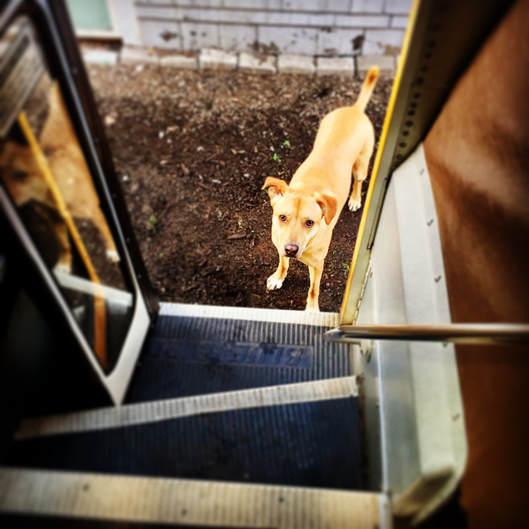
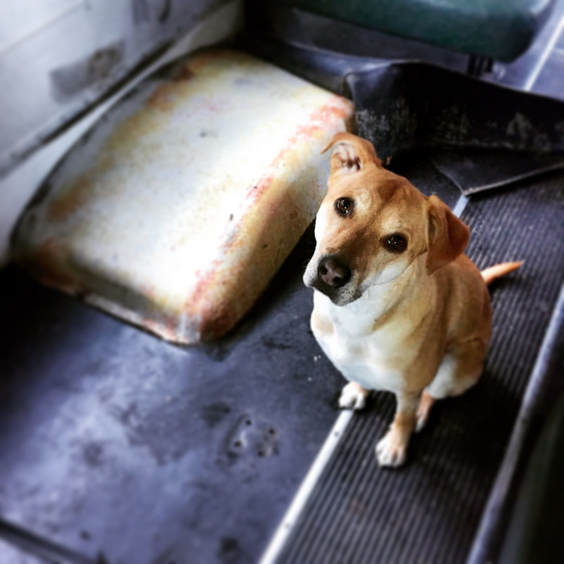
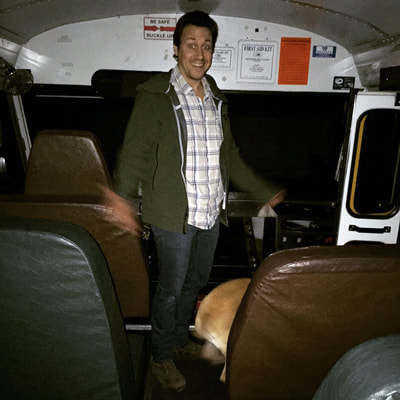
***** This was by far the most grueling and time consuming task yet, but Lou Dog didn't seem to mind.
3 Comments
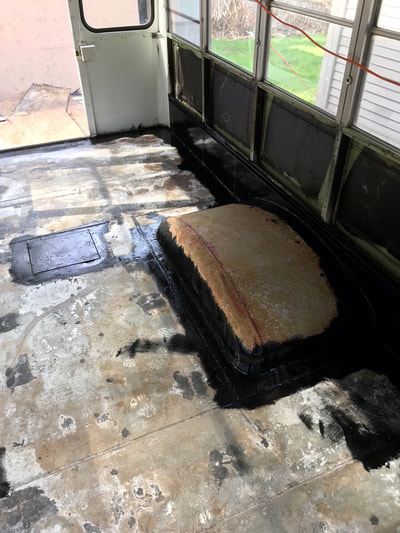
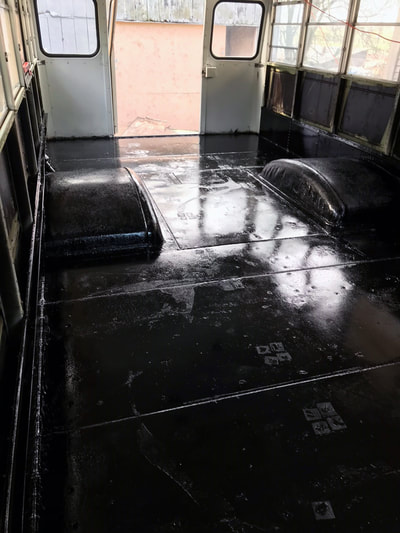
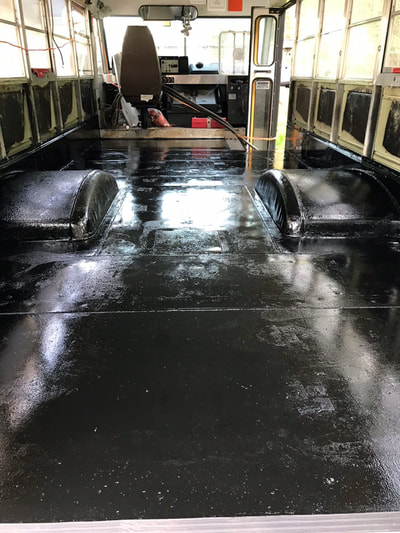
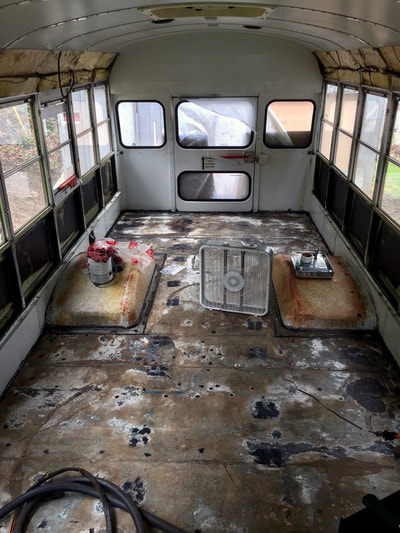
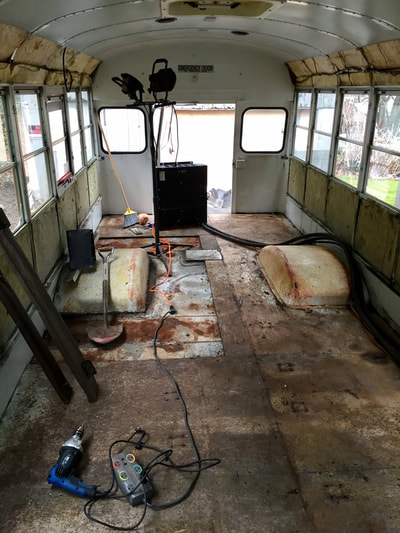
With the floor completely clean and all holes patched, we moved onto the next phase - painting the floor with a coat of Rustoleum Rust Stopper. It was remarkable how giving the floor that unifying coat made it feel brand new and opened up a world of imaginative possibilities.
We took advantage of the few hours of sunshine one day to remove the rear heater. This entailed unbolting it from the back of the bus, hauling it and its 35 feet worth of radiator tubing out the front door, cutting the lines, and draining the fluid. With two people (and extra buckets) it wasn't so bad.
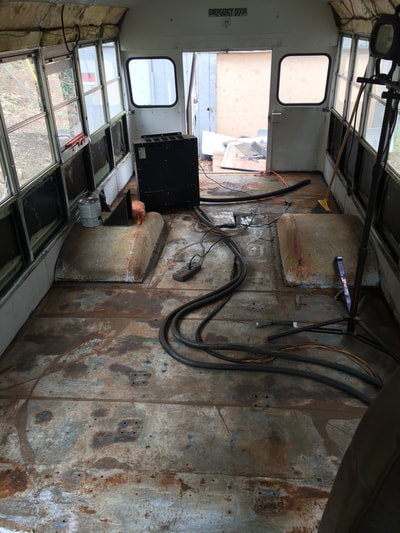
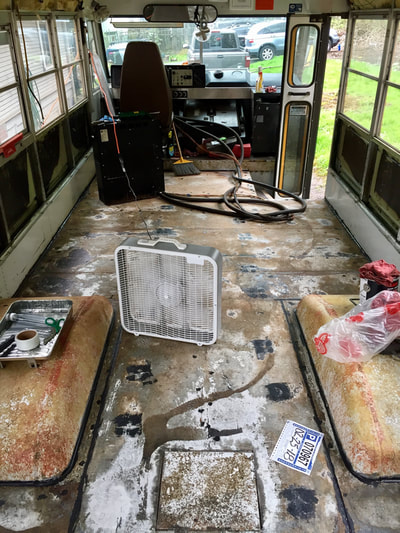
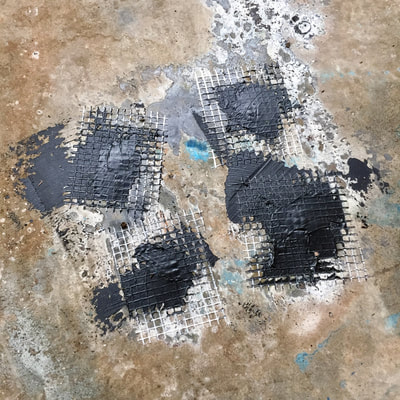
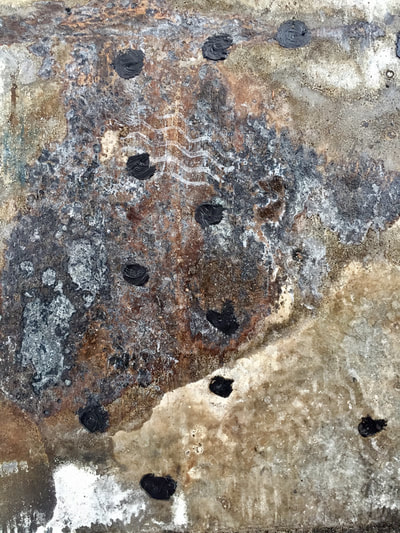
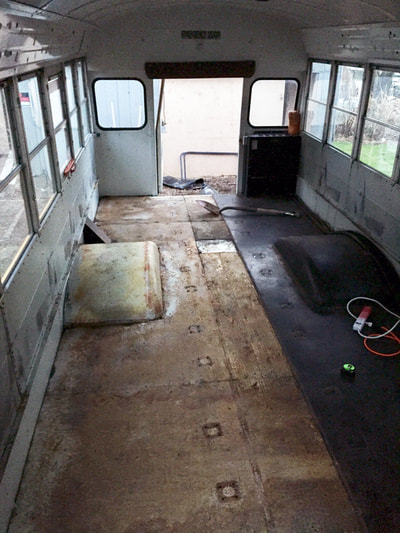
With the plywood up, we were able to properly asses the condition of the metal frame and were happy to find there weren't any gaping holes or excessive cancer spots. After sanding the larger rusted spots with a wire brush attachment for the angle grinder, we applied a few coats of rust converter to the entire floor of the bus. Rust converter is a chemical solution that can be applied directly to an iron or iron alloy surface to convert iron oxides (rust) into a protective chemical barrier. Once dry, we used wall patch mesh (with adhesive backing) and caulk to patch all the bolt and nail holes.
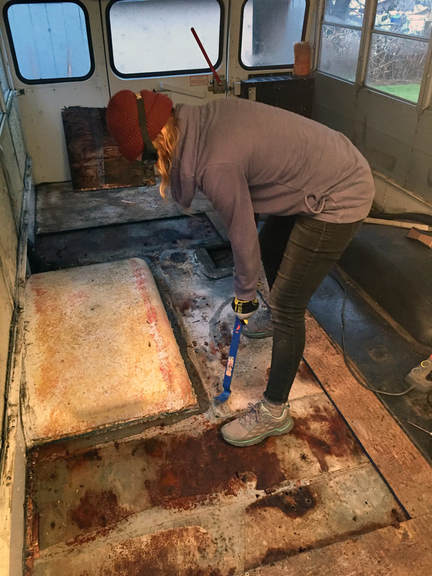
As it turned out, the plywood subfloor was not only held in place by pressure, there were more tiny nails than I could care to count, driven in at random, anchoring it to the metal frame. Always wear safety goggles.
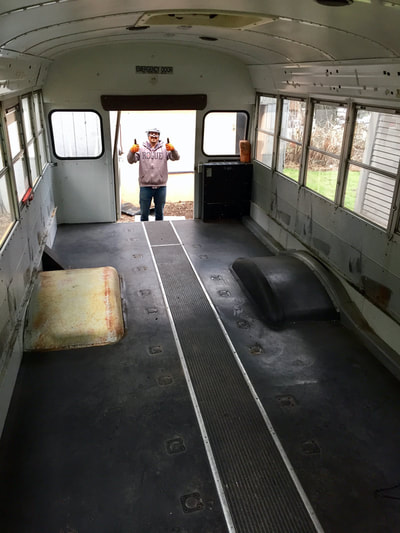
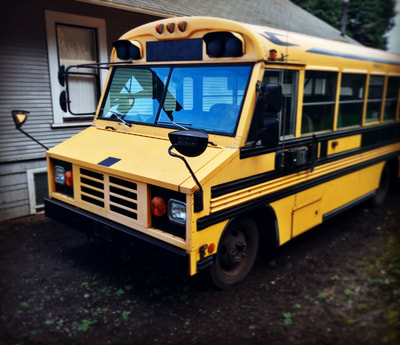
After removing seats, the next step was to rip up the rubber flooring in order to expose the plywood subfloor. Upon seeing the rotted condition of the wood, it was obvious there had been water damage, and that there could be some rust issues. In a project like this, it's important not to cut any corners, so we tore up the subfloor and took Eva all the way down to her metal frame in order to start from scratch.
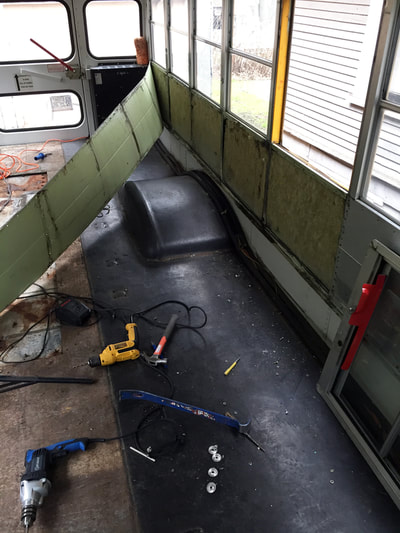
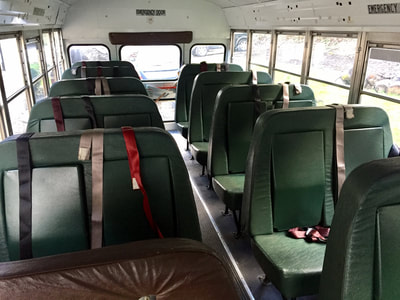
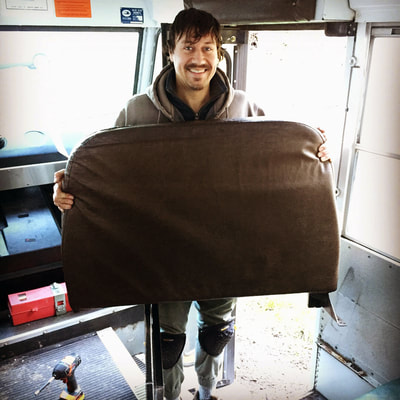
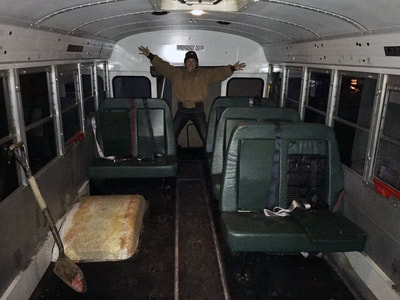
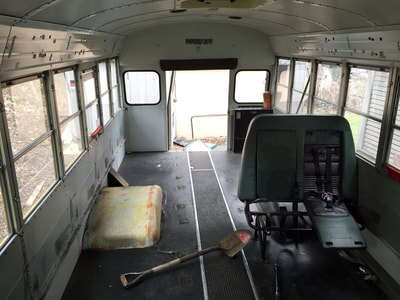
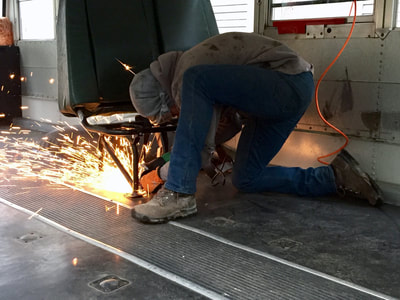
At this time we also removed the metal siding on the walls. This tedious process involved drilling out each rivet with a drill bit that was slightly larger than the center pin hole, and chiseling the head loose. It took us about three sessions and a lot of talking to each other through bolt holes in the floor to get all 10 seats (120 bolts) out. For the most part, it was nothing a few wrenches and some elbow grease couldn't handle... except that last bolt. Lucky for us, there's a little thing called an angle grinder. If I could do it all over again, I would probably take the seat cushions off all the benches first to allow for easier access to the bolts. These are held on with little U-shaped clips and can be removed by pushing the seat cushion towards the back cushion, then pulling upward.
|
Archives
January 2020
Categories |
Location |
Follow Us!Donate to our charity with Amazon SMILE! |

 RSS Feed